The Discard option allows the hypervisor to inform the storage device when blocks of data are no longer in use improving performance and potentially extending the lifespan of SSDs. If you’re using thin provisioned LVM volumes the discard is essential for proper space reclamation
Archive for the ‘Proxmox’ Category
Proxmox Virtual Environment (VE) 9.0.5 – the ‚Discard‘ (also known as TRIM) option should generally be enabled for SSDs and thin provisioned LVM storage but it’s not enabled by default
Montag, August 18th, 2025Proxmox Virtual Environment (VE) – Cluster (Local ZFS NFS CEPH) und HA Installation
Sonntag, August 17th, 2025Proxmox Virtual Environment (VE) – Cluster Ceph und HA Installation
Samstag, August 16th, 2025Proxmox Virtual Environment (VE) 9.0.5 – without a subscription you need to switch simple from the default enterprise repositories to the ‚pve-no-subscription‘ repository
Samstag, August 16th, 2025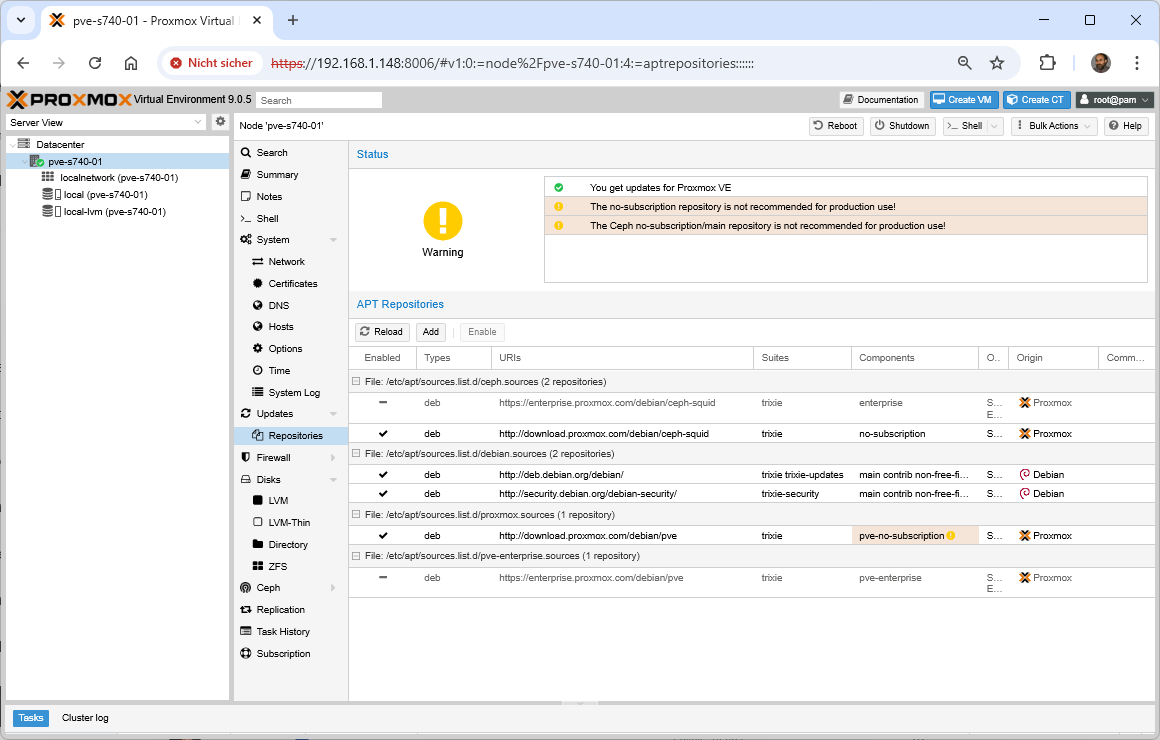
Thomas-Krenn.AG – Virtualisierung im Vergleich Proxmox VE Microsoft VMware by Broadcom
Freitag, August 15th, 2025Proxmox Virtual Environment (VE) 9.0 – a step by step process of upgrading Proxmox VE 8.4 to Proxmox VE 9.0
Donnerstag, August 14th, 2025![]() Proxmox Virtual Environment (VE) 9.0 – in place upgrades are carried out via apt-get familiarity with apt-get is required to proceed with this upgrade method
Proxmox Virtual Environment (VE) 9.0 – in place upgrades are carried out via apt-get familiarity with apt-get is required to proceed with this upgrade method
root@pve-s740-01:~# apt update
Hit:1 http://download.proxmox.com/debian/pve bookworm InRelease
Hit:2 http://security.debian.org bookworm-security InRelease
Hit:3 http://download.proxmox.com/debian/ceph-quincy bookworm InRelease
Hit:4 http://ftp.de.debian.org/debian bookworm InRelease
Hit:5 http://ftp.de.debian.org/debian bookworm-updates InRelease
Hit:6 http://repository.netdata.cloud/repos/edge/debian bookworm/ InRelease
Hit:7 http://repository.netdata.cloud/repos/repoconfig/debian bookworm/ InRelease
Reading package lists… Done
Building dependency tree… Done
Reading state information… Done
All packages are up to date.
root@pve-s740-01:~#
root@pve-s740-01:~# apt dist-upgrade
Reading package lists… Done
Building dependency tree… Done
Reading state information… Done
Calculating upgrade… Done
The following package was automatically installed and is no longer required:
proxmox-kernel-6.8.12-10-pve-signed
Use ‚apt autoremove‘ to remove it.
0 upgraded, 0 newly installed, 0 to remove and 0 not upgraded.
root@pve-s740-01:~# pveversion
pve-manager/8.4.11/14a32011146091ed (running kernel: 6.8.12-13-pve)
root@pve-s740-01:~#
root@pve-s740-01:~# sed -i ’s/bookworm/trixie/g‘ /etc/apt/sources.list
root@pve-s740-01:~# sed -i ’s/bookworm/trixie/g‘ /etc/apt/sources.list.d/pve-enterprise.list
root@pve-s740-01:~# cat > /etc/apt/sources.list.d/proxmox.sources << EOF
Types: deb
URIs: http://download.proxmox.com/debian/pve
Suites: trixie
Components: pve-no-subscription
Signed-By: /usr/share/keyrings/proxmox-archive-keyring.gpg
EOF
root@pve-s740-01:~#
root@pve-s740-01:~# apt update
root@pve-s740-01:~# apt dist-upgrade
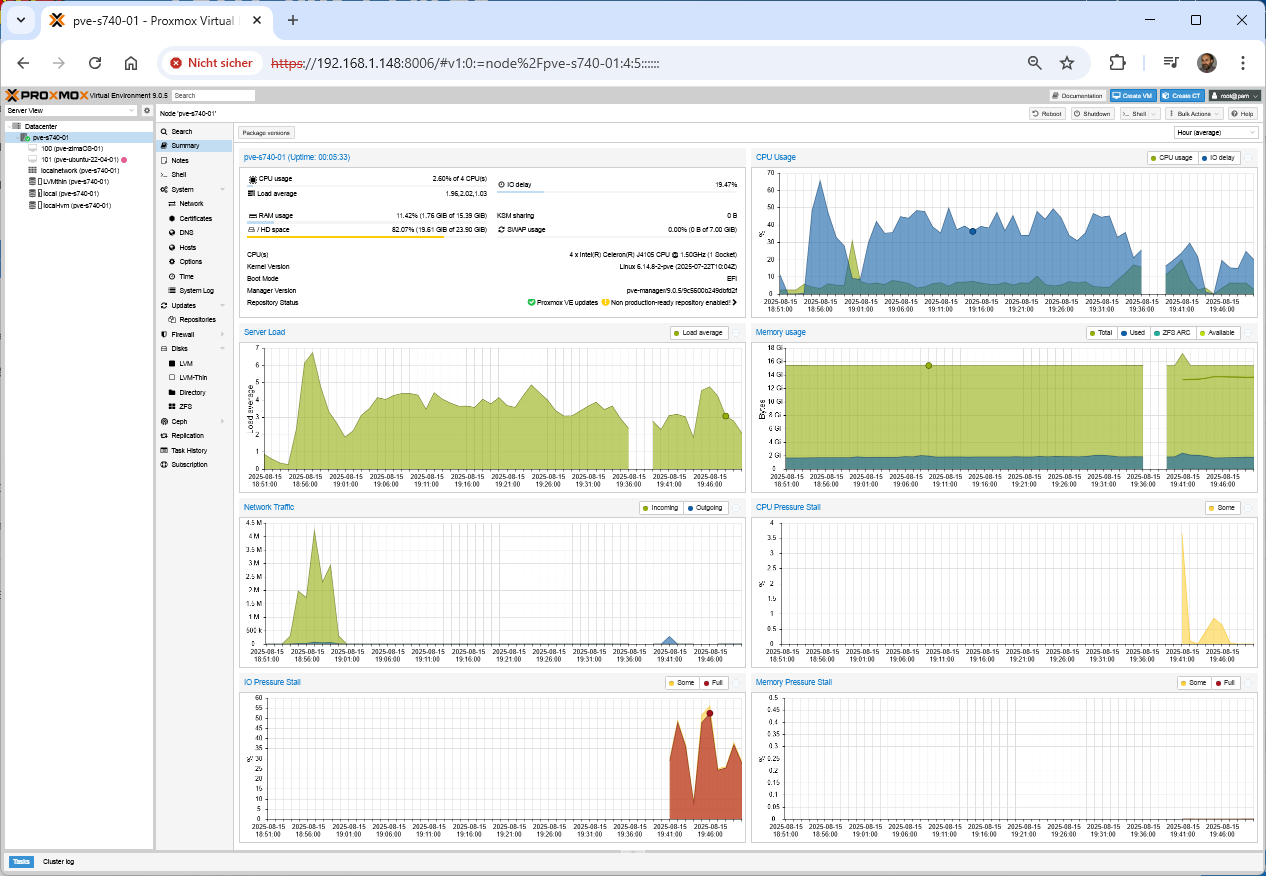
Proxmox Virtual Environment (VE) 9.0 – your Virtual Machines (VMs) are hogging memory triggering the dreaded Out-of-Memory (OOM) killer and causing catastrophic crashes
Dienstag, August 12th, 2025Proxmox Virtual Environment (VE) 9.0 – what’s new
Dienstag, August 5th, 2025Proxmox Virtual Environment (VE) 9.0 & Proxmox Backup Server 4 Beta – Deep Dive of Features
Samstag, August 2nd, 2025Proxmox Backup Server 4.0 Beta – released
Samstag, Juli 26th, 2025Proxmox Virtual Environment (VE) 9.0 Beta 1 – introduces several new major features
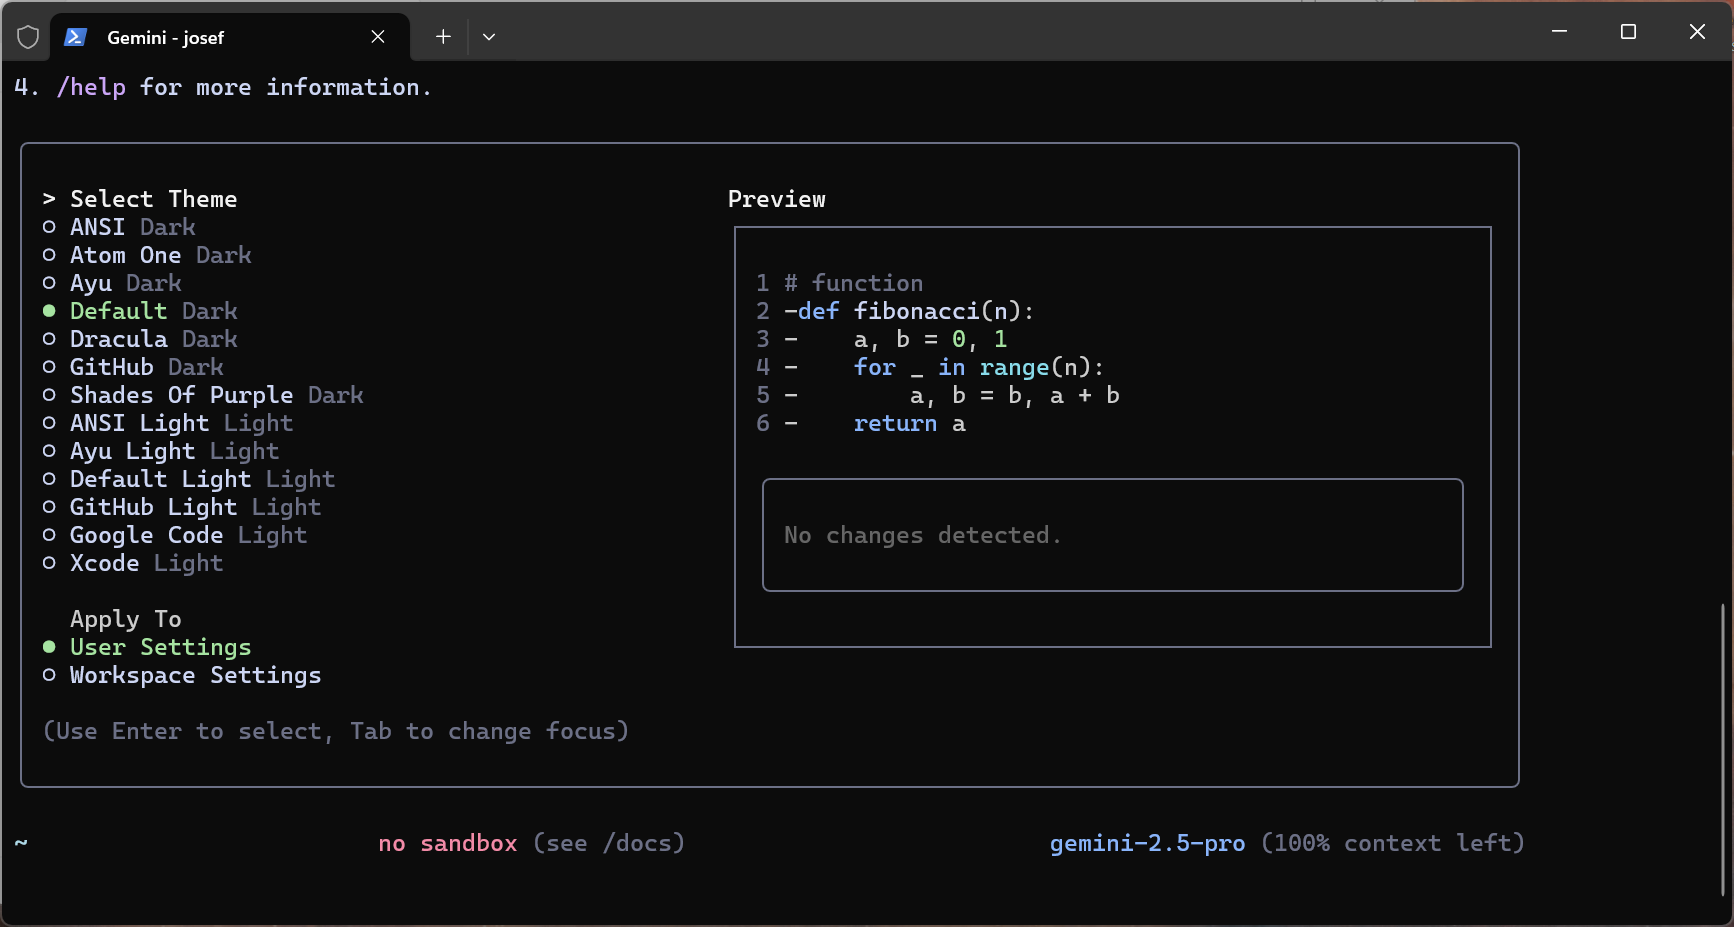
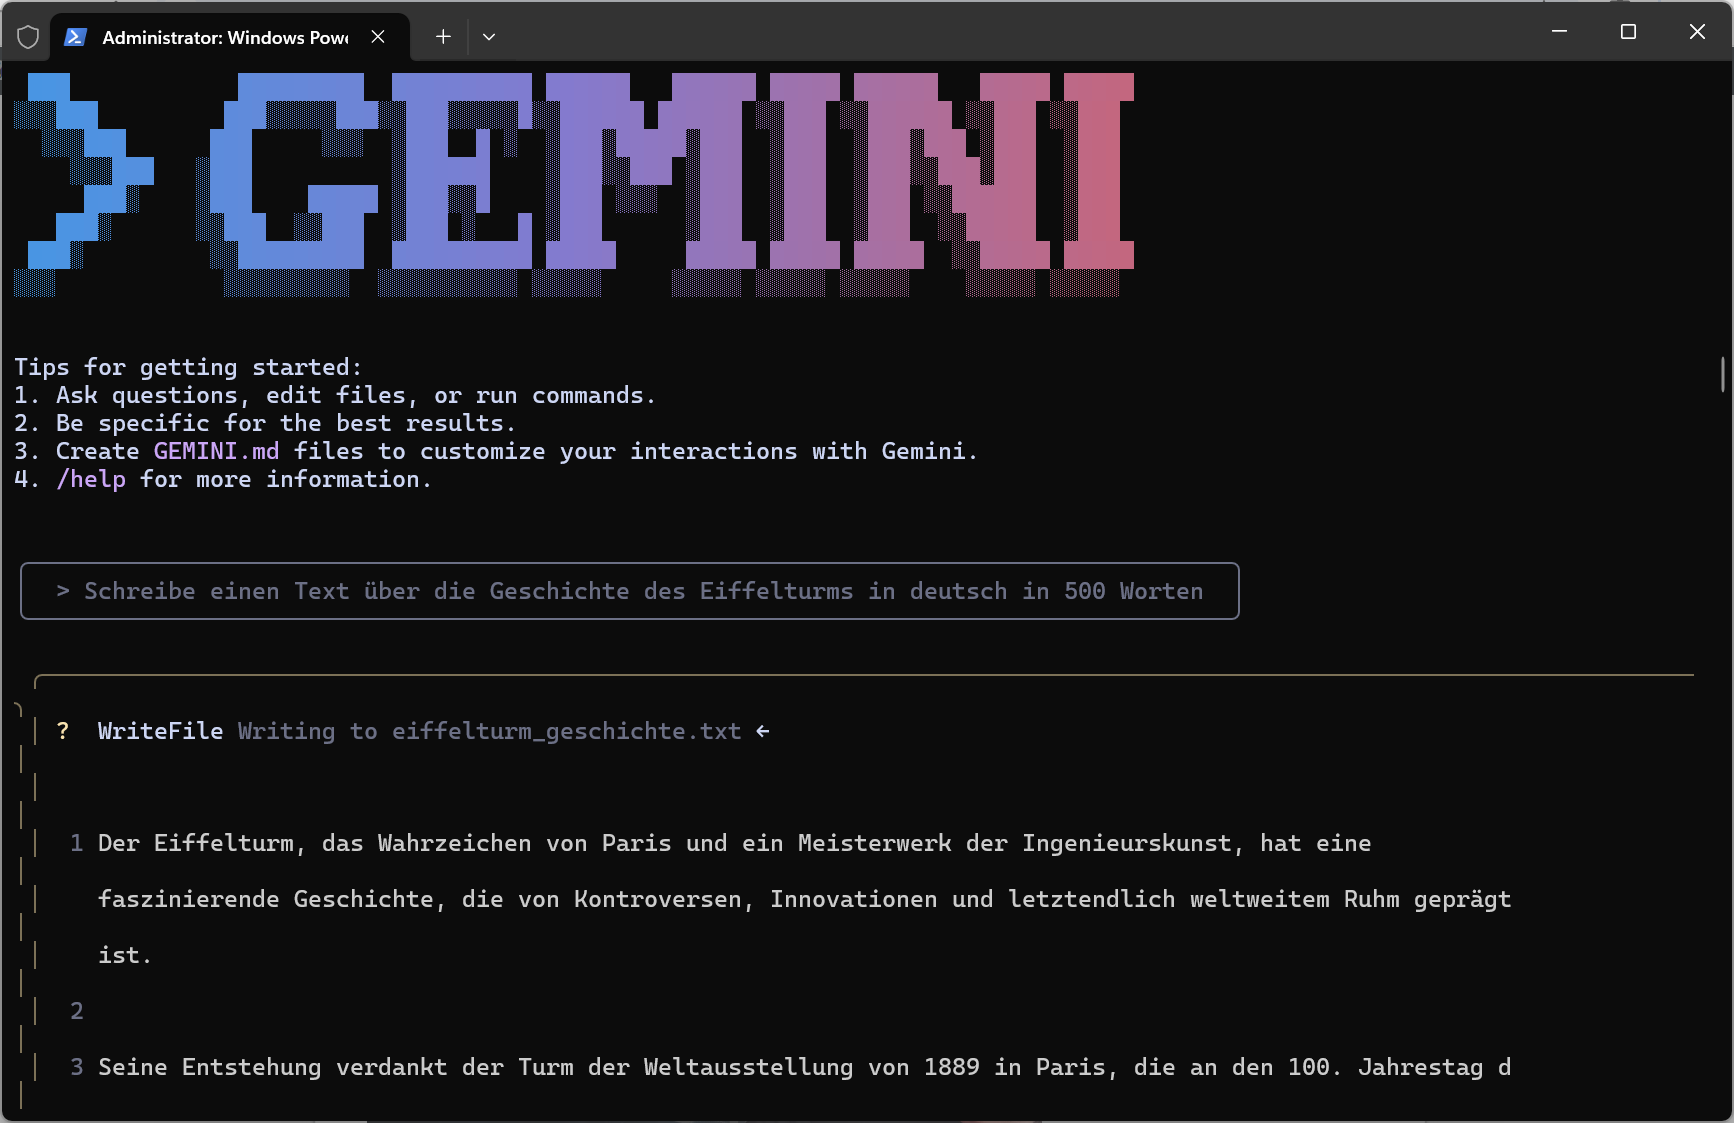
Montag, Juli 21st, 2025Google Gemini CLI – how to bring AI in your Windows or Linux Terminal
Sonntag, Juli 6th, 2025
How to bring AI in your Windows Terminal
PS C:\Users\josef>
PS C:\Users\josef> winget install -e –id OpenJS.NodeJS
Gefunden Node.js [OpenJS.NodeJS] Version 24.3.0
Diese Anwendung wird von ihrem Besitzer an Sie lizenziert.
Microsoft ist nicht verantwortlich und erteilt keine Lizenzen für Pakete von Drittanbietern.
Download läuft https://nodejs.org/dist/v24.3.0/node-v24.3.0-x64.msi
██████████████████████████████ 30.5 MB / 30.5 MB
Der Installer-Hash wurde erfolgreich überprüft
Paketinstallation wird gestartet…
Erfolgreich installiert
PS C:\Users\josef>
PS C:\Users\josef> Set-ExecutionPolicy -ExecutionPolicy RemoteSigned -Scope CurrentUser
PS C:\Users\josef> npm install -g @google/gemini-cli
added 432 packages in 2m
PS C:\Users\josef> gemini

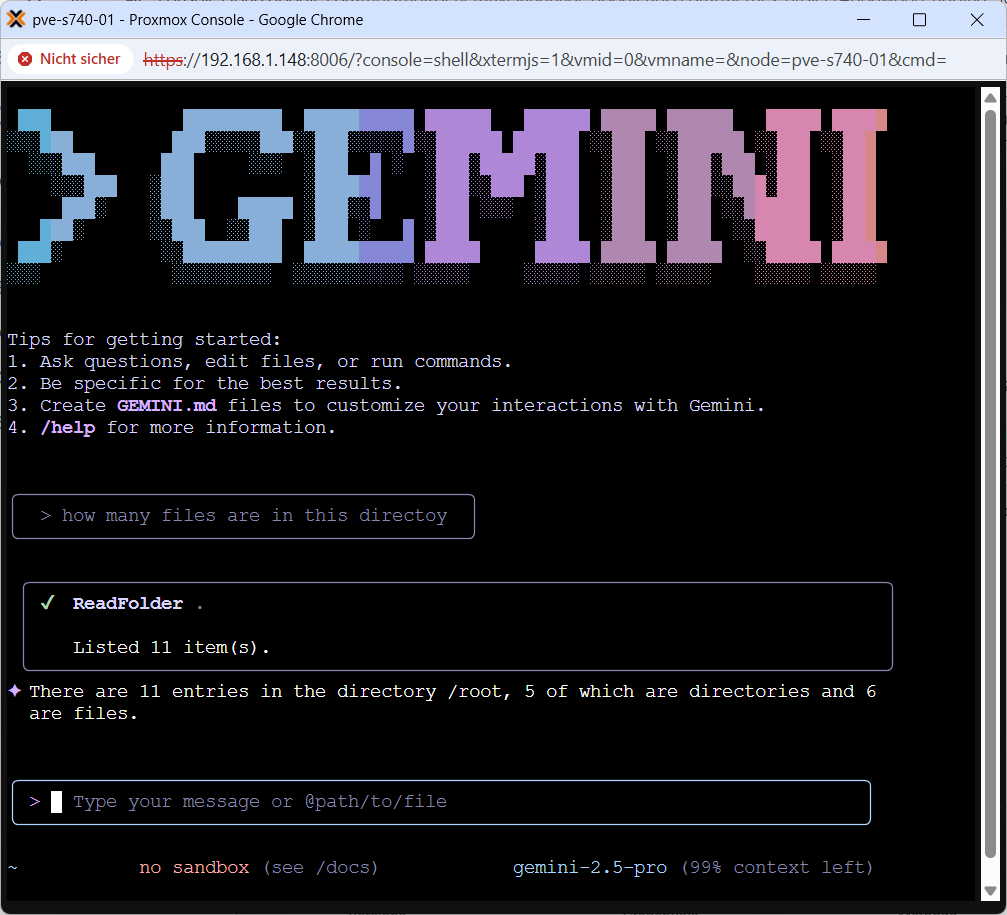
How to bring AI in your Linux Terminal e.g. on a Proxmox VE Server
root@pve-s740-01:~# apt-get install npm
Reading package lists… Done
Building dependency tree… Done
Reading state information… Done
npm is already the newest version (9.2.0~ds1-1).
0 upgraded, 0 newly installed, 0 to remove and 0 not upgraded.
root@pve-s740-01:~#
root@pve-s740-01:~# npm install -g @google/gemini-cli
added 432 packages in 27s
root@pve-s740-01:~#
root@pve-s740-01:~# vi .bashrc
export GEMINI_API_KEY=“<YOUR_API_KEY>“
root@pve-s740-01:~# gemini

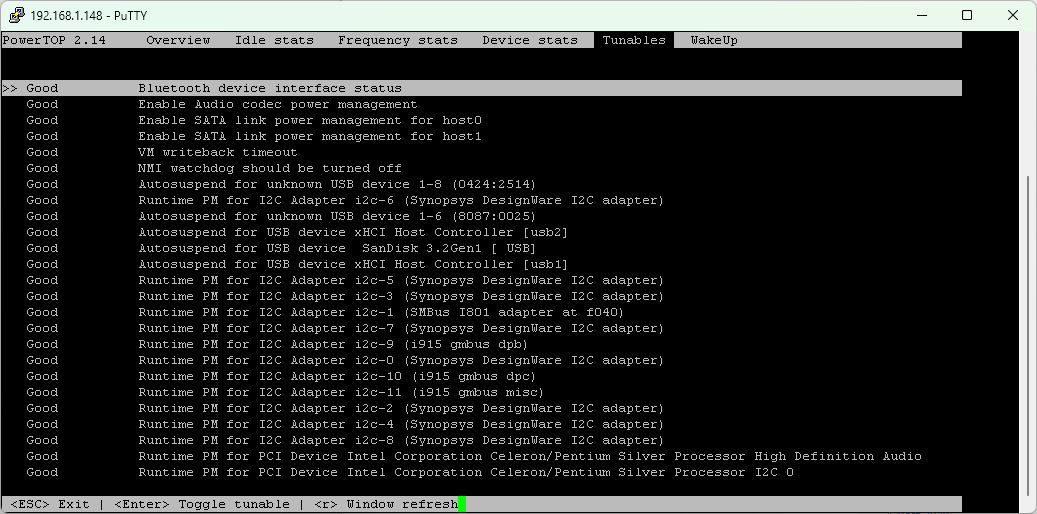
Proxmox Virtual Environment (VE) 8.1.4 – improve idle power consumption with ‚powertop –auto-tune‘
Montag, Juni 30th, 2025
First make a systemd service file:
root@pve-s740-01:~# vi /etc/systemd/system/powertop.service
You can add this to that file:
[Unit]
Description=PowerTOP auto-tuning
[Service]
Type=oneshot
ExecStart=/usr/sbin/powertop –auto-tune
[Install]
WantedBy=multi-user.target
Then, enable the service using the command:
root@pve-s740-01:~# systemctl enable powertop.service
root@pve-s740-01:~# powertop
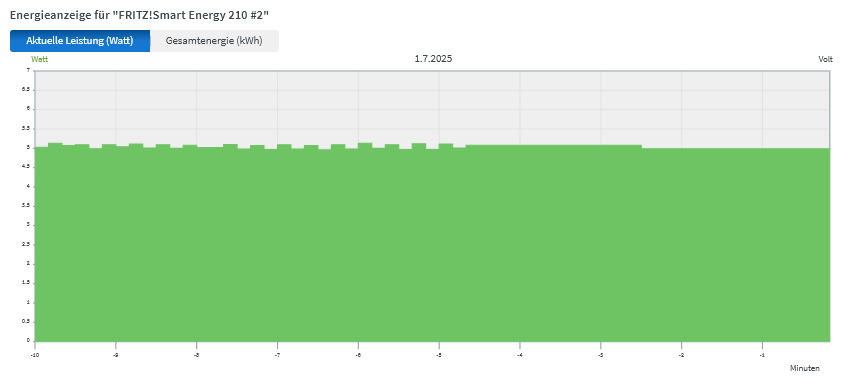
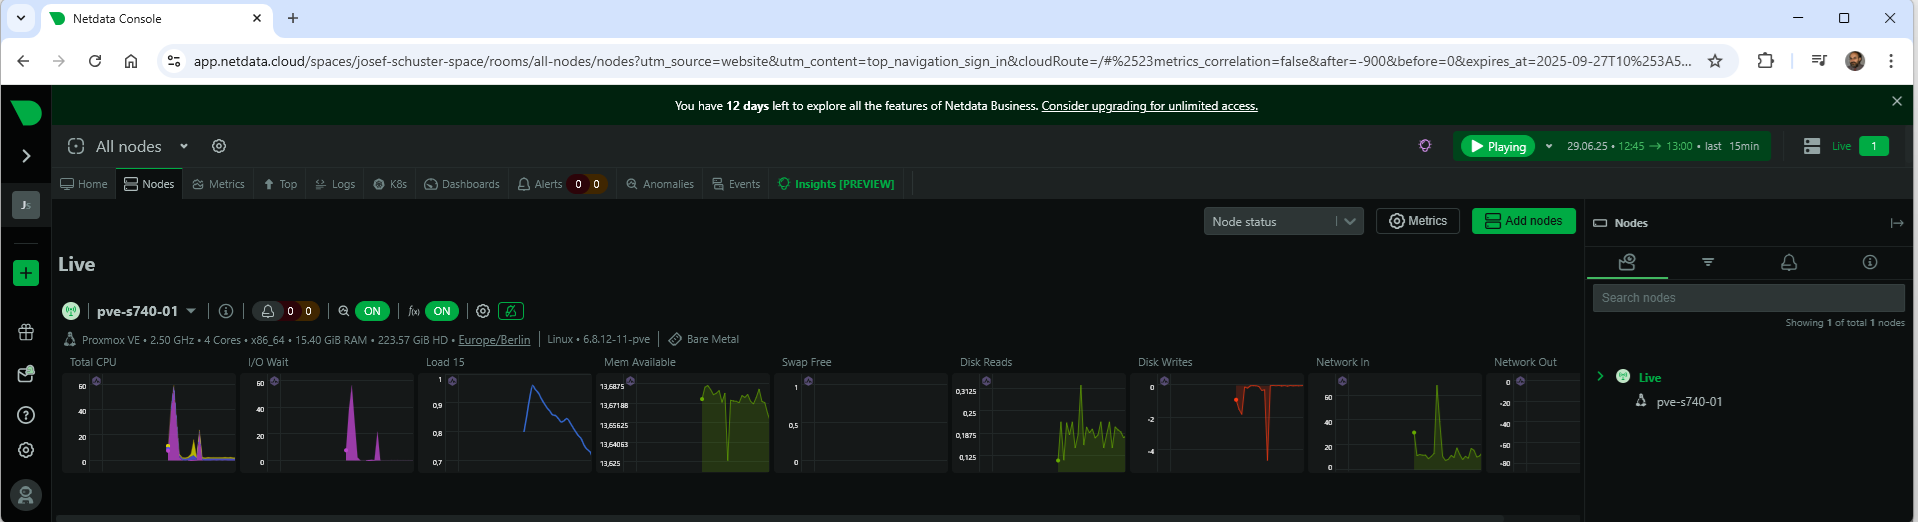
Proxmox Virtual Environment (VE) 8.4.1 – boost Proxmox with NetData Real-Time Monitoring
Sonntag, Juni 29th, 2025![]() Run the One-Line Install Command
Run the One-Line Install Command
root@pve-s740-01:~# curl https://get.netdata.cloud/kickstart.sh > /tmp/netdata-kickstart.sh && sh /tmp/netdata-kickstart.sh
root@pve-s740-01:~# wget -O /tmp/netdata-kickstart.sh https://get.netdata.cloud/kickstart.sh && sh /tmp/netdata-kickstart.sh –stable-channel –claim-token <YOUR_CLAIM_TOKEN> –claim-rooms <YOUR_CLAIM_ROOMS> –claim-url https://app.netdata.cloud
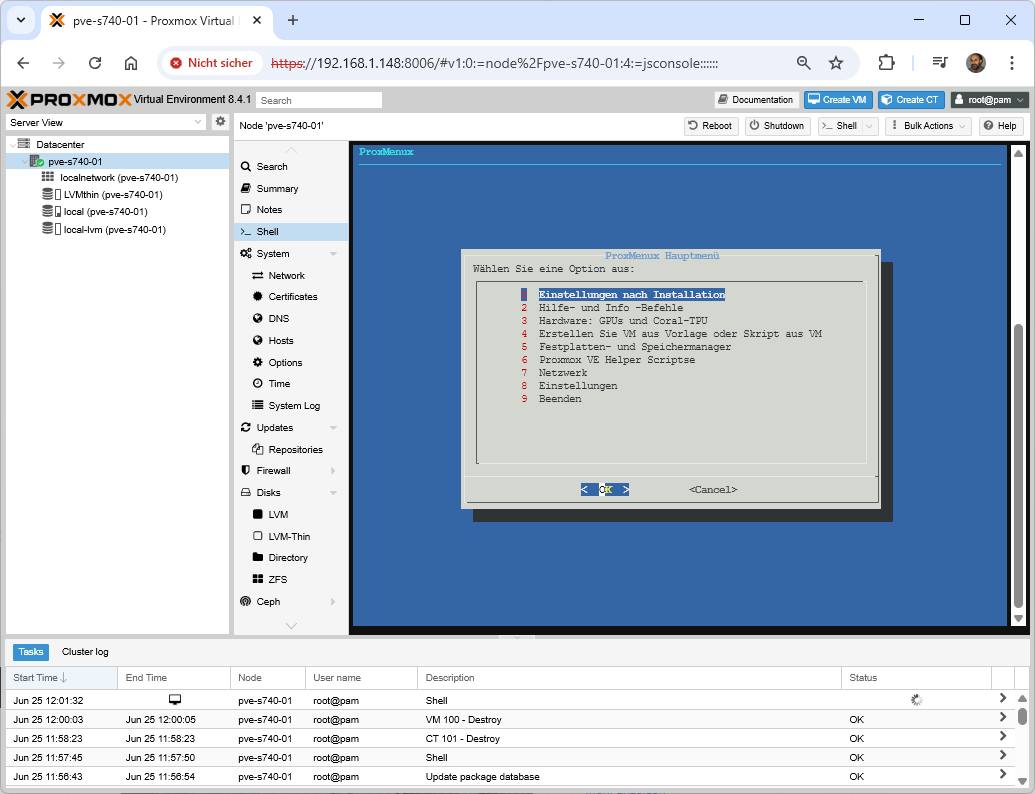
Proxmox Virtual Environment (VE) 8.4.1 – Best Proxmox Tool ‚ProxMenux‘
Mittwoch, Juni 25th, 2025ProxMenux – the new essential tool for managing your Proxmox VE server designed to enhance your server management experience
root@pve-s740-01:~# bash -c „$(wget -qLO – https://raw.githubusercontent.com/MacRimi/ProxMenux/main/install_proxmenux.sh)“
▆▄▂ ▂▄▆ │
▏ ▇▅▃▁ ▁▃▅▇ ▁ │
▏ ▂┈ ┈▆▄▂ ▂▄▆┈ ┈▂▄▆ │ ProxMenux
▏ ▏▇▅▃▁ ┊ ▁▃▅▇ ▃▅▇ │
▏ ▏ ▄▂ ▆▄▂▄▆ ▂▄▆┈ ▉ │ An Interactive Menu for
▏ ▏▉ ▇▅▂▁▂▅▇ ┈▂ ▉ │ Proxmox VE management
▏ ▏ ▅▃▁ ┈ ▁▃▅ ▉ │
▏ ▏ ▆▄▂▄▆ ▉ │
▏ ▏ ▉ │
▆▄▂▏ ▂▄▆ │
To function correctly, ProxMenux needs to install the following components:
– whiptail (if not already installed)
– curl (if not already installed)
– jq (if not already installed)
– Python 3 (if not already installed)
– Virtual environment for Google Translate
– ProxMenux scripts and configuration files
Do you want to proceed with the installation? (y/n) y
Installing ProxMenu: Step 1 of 4
-Checking system dependencies
✓ jq installed successfully.
✓ whiptail is already installed.
✓ dialog is already installed.
✓ curl is already installed.
✓ python3 is already installed.
✓ python3-venv installed successfully.
✓ python3-pip is already installed.
Installing ProxMenu: Step 2 of 4
-Setting up virtual environment for translate
✓ Virtual environment created successfully.
Installing ProxMenu: Step 3 of 4
-Installing and upgrading pip and googletrans
✓ Pip upgraded successfully.
✓ Googletrans installed successfully.
Installing ProxMenu: Step 4 of 4
-Downloading necessary files
✓ cache.json downloaded successfully.
✓ utils.sh downloaded successfully.
✓ menu downloaded successfully.
✓ version.txt downloaded successfully.
– | ProxMenux has been installed successfull | –
To run ProxMenux, simply execute this command in the console or terminal:
menu
root@pve-s740-01:~# menu

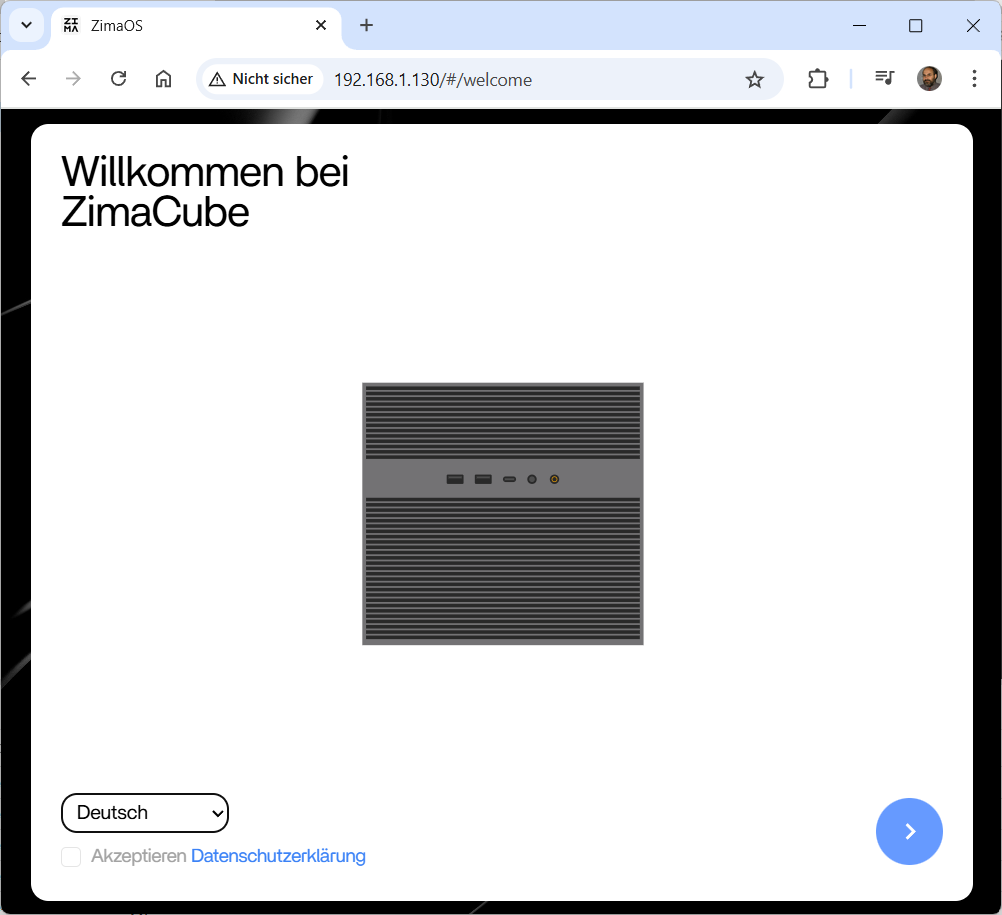
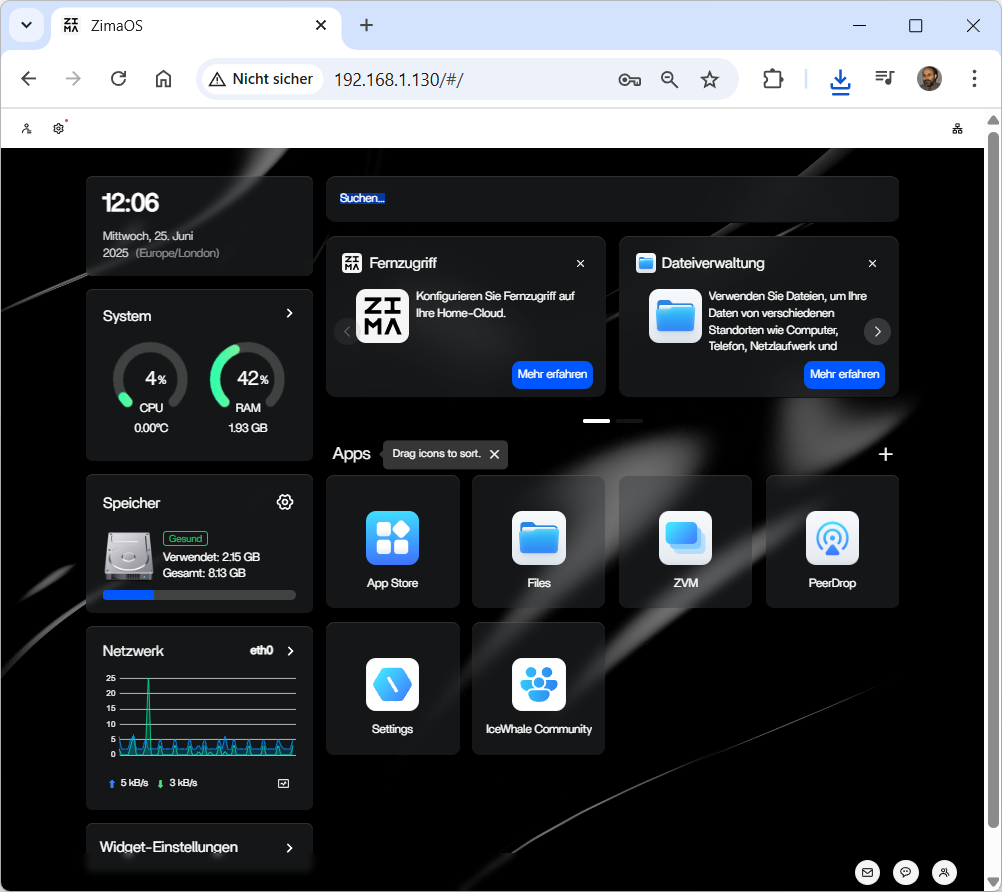
=== Proxmox ZimaOS VM Creator ===
Enter VMID (100-999): 100
Enter VM name: pve-zimaOS-01
Enter volume [local-lvm]: LVMthin
Enter memory size in MB [2048]:
Enter number of CPU cores [2]:
Creating VM with the following parameters:
VMID: 100
Name: pve-zimaOS-01
Volume: LVMthin
Memory: 2048 MB
Cores: 2
Image: zimaos_zimacube-1.4.0.img.xz
Continue? (y/n): y
Starting VM creation process…
Cleaning up any existing image files…
Downloading the image…
/var/lib/vz/images/zimaos_zimacube-1.4.0.img.xz 100%
[==============================>] 1.11G 5.42MB/s in 2m 6s
Extracting the image…
Creating VM…
Creating EFI disk…
Logical volume „vm-100-disk-0“ created.
successfully created ‚LVMthin:vm-100-disk-0‘
update VM 100: -efidisk0 LVMthin:vm-100-disk-0,efitype=4m
Importing the disk…
importing disk ‚/var/lib/vz/images/zimaos_zimacube-1.4.0.img‘ to VM 100 …
Rounding up size to full physical extent 12.26 GiB
Logical volume „vm-100-disk-1“ created.
transferred 0.0 B of 12.3 GiB (0.00%)
transferred 135.6 MiB of 12.3 GiB (1.08%)
…
transferred 12.3 GiB of 12.3 GiB (100.00%)
transferred 12.3 GiB of 12.3 GiB (100.00%)
unused0: successfully imported disk ‚LVMthin:vm-100-disk-1‘
Attaching the disk…
update VM 100: -boot order=sata0 -sata0 LVMthin:vm-100-disk-1 -scsihw virtio-scsi-pci
Resize ZimaOS disk
Size of logical volume LVMthin/vm-100-disk-1 changed from 12.26 GiB (3139 extents) to 20.26 GiB (5187 extents).
Logical volume LVMthin/vm-100-disk-1 successfully resized.
Starting VM…
trying to acquire lock…
OK
ZimaOS VM creation completed successfully!
-Drücken Sie die Eingabetaste, um zum Menü zurückzukehren …