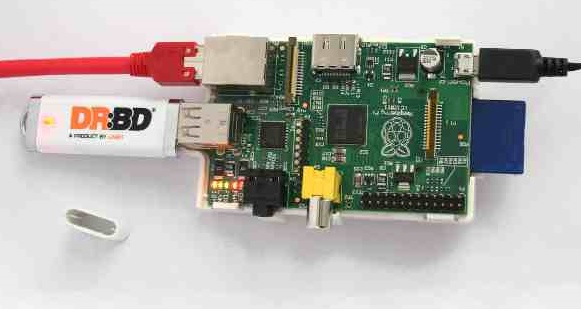
Raspberry Pi DRBD Cluster – all you need is two Raspberry Pi and two USB memory sticks
DRBD (Distributed Replicated Block Device) is a data replication software for Linux. It presents as a block-device to the user. DRBD is similiar to a RAID 1 except that it runs over a network between two Servers for data replication at least GBit Ethernet should be used
# ### make the secondary node to the primary node
# drbdadm −− primary r0
# mkdir /u0_drbd0
# mount /dev/drbd0 /u0_drbd0
# ### how to fix DRBD recovery from split brain # ### Step 1: Start drbd manually on both nodes # ### Step 2: Define one node as secondary and discard data on this
# drbdadm secondary all # drbdadm disconnect all # drbdadm −− −−discard-my-data connect all # ### Step 3: Define another node as primary and connect
# drbdadm primary all # drbdadm disconnect all # drbdadm connect all
This entry was posted on Sonntag, Juni 28th, 2015 at 19:39 and is filed under Administration, Raspberry Pi. You can follow any responses to this entry through the RSS 2.0 feed.
You can leave a response, or trackback from your own site.