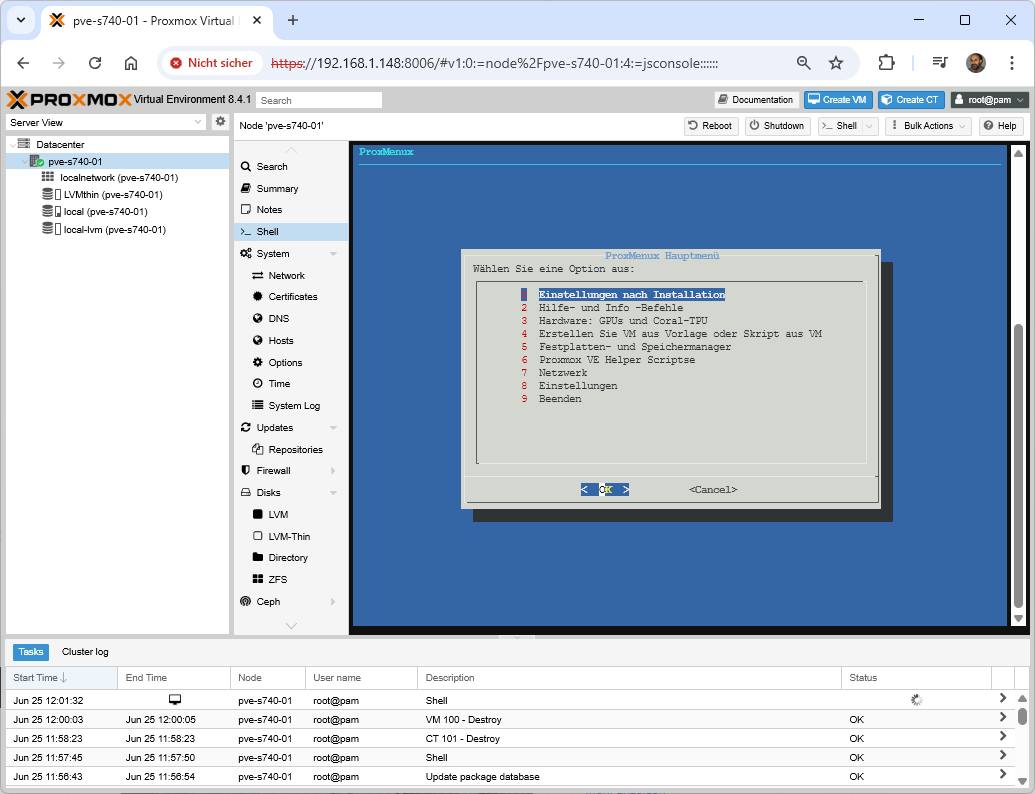
ProxMenux – the new essential tool for managing your Proxmox VE server designed to enhance your server management experience
root@pve-s740-01:~# bash -c „$(wget -qLO – https://raw.githubusercontent.com/MacRimi/ProxMenux/main/install_proxmenux.sh)“
▆▄▂ ▂▄▆ │
▏ ▇▅▃▁ ▁▃▅▇ ▁ │
▏ ▂┈ ┈▆▄▂ ▂▄▆┈ ┈▂▄▆ │ ProxMenux
▏ ▏▇▅▃▁ ┊ ▁▃▅▇ ▃▅▇ │
▏ ▏ ▄▂ ▆▄▂▄▆ ▂▄▆┈ ▉ │ An Interactive Menu for
▏ ▏▉ ▇▅▂▁▂▅▇ ┈▂ ▉ │ Proxmox VE management
▏ ▏ ▅▃▁ ┈ ▁▃▅ ▉ │
▏ ▏ ▆▄▂▄▆ ▉ │
▏ ▏ ▉ │
▆▄▂▏ ▂▄▆ │
To function correctly, ProxMenux needs to install the following components:
– whiptail (if not already installed)
– curl (if not already installed)
– jq (if not already installed)
– Python 3 (if not already installed)
– Virtual environment for Google Translate
– ProxMenux scripts and configuration files
Do you want to proceed with the installation? (y/n) y
Installing ProxMenu: Step 1 of 4
-Checking system dependencies
✓ jq installed successfully.
✓ whiptail is already installed.
✓ dialog is already installed.
✓ curl is already installed.
✓ python3 is already installed.
✓ python3-venv installed successfully.
✓ python3-pip is already installed.
Installing ProxMenu: Step 2 of 4
-Setting up virtual environment for translate
✓ Virtual environment created successfully.
Installing ProxMenu: Step 3 of 4
-Installing and upgrading pip and googletrans
✓ Pip upgraded successfully.
✓ Googletrans installed successfully.
Installing ProxMenu: Step 4 of 4
-Downloading necessary files
✓ cache.json downloaded successfully.
✓ utils.sh downloaded successfully.
✓ menu downloaded successfully.
✓ version.txt downloaded successfully.
– | ProxMenux has been installed successfull | –
To run ProxMenux, simply execute this command in the console or terminal:
menu
root@pve-s740-01:~# menu

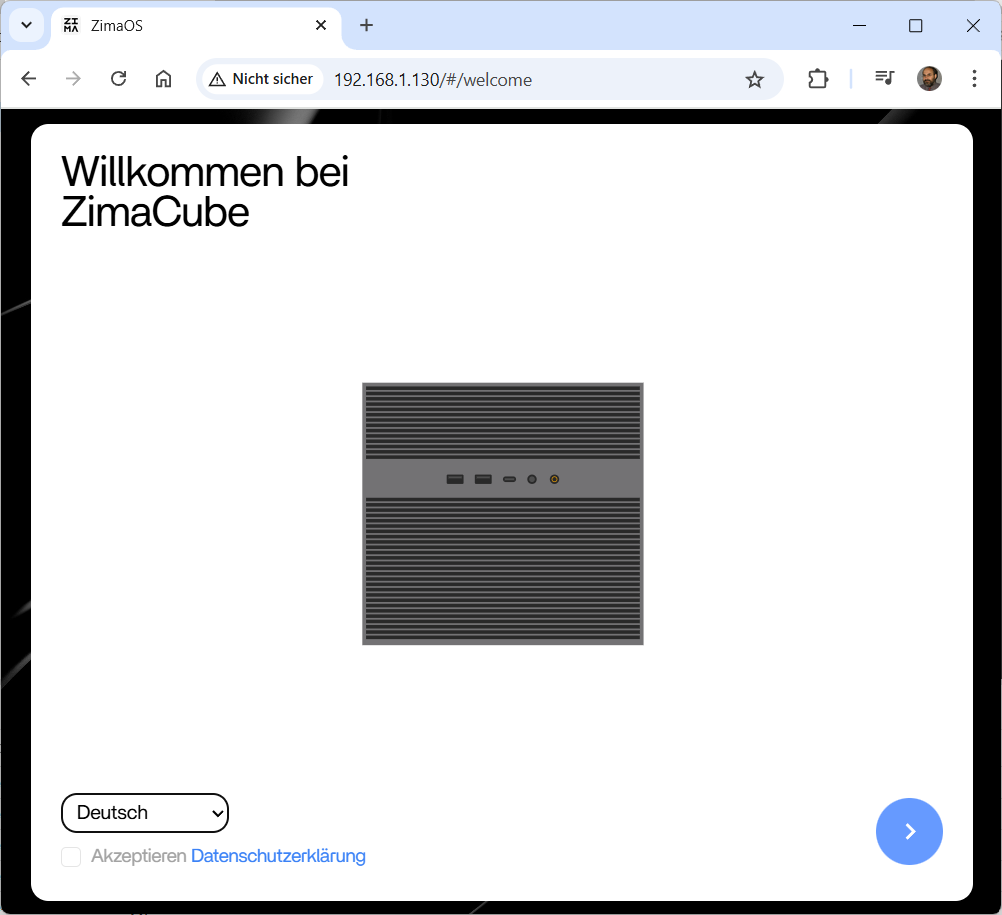
=== Proxmox ZimaOS VM Creator ===
Enter VMID (100-999): 100
Enter VM name: pve-zimaOS-01
Enter volume [local-lvm]: LVMthin
Enter memory size in MB [2048]:
Enter number of CPU cores [2]:
Creating VM with the following parameters:
VMID: 100
Name: pve-zimaOS-01
Volume: LVMthin
Memory: 2048 MB
Cores: 2
Image: zimaos_zimacube-1.4.0.img.xz
Continue? (y/n): y
Starting VM creation process…
Cleaning up any existing image files…
Downloading the image…
/var/lib/vz/images/zimaos_zimacube-1.4.0.img.xz 100%
[==============================>] 1.11G 5.42MB/s in 2m 6s
Extracting the image…
Creating VM…
Creating EFI disk…
Logical volume „vm-100-disk-0“ created.
successfully created ‚LVMthin:vm-100-disk-0‘
update VM 100: -efidisk0 LVMthin:vm-100-disk-0,efitype=4m
Importing the disk…
importing disk ‚/var/lib/vz/images/zimaos_zimacube-1.4.0.img‘ to VM 100 …
Rounding up size to full physical extent 12.26 GiB
Logical volume „vm-100-disk-1“ created.
transferred 0.0 B of 12.3 GiB (0.00%)
transferred 135.6 MiB of 12.3 GiB (1.08%)
…
transferred 12.3 GiB of 12.3 GiB (100.00%)
transferred 12.3 GiB of 12.3 GiB (100.00%)
unused0: successfully imported disk ‚LVMthin:vm-100-disk-1‘
Attaching the disk…
update VM 100: -boot order=sata0 -sata0 LVMthin:vm-100-disk-1 -scsihw virtio-scsi-pci
Resize ZimaOS disk
Size of logical volume LVMthin/vm-100-disk-1 changed from 12.26 GiB (3139 extents) to 20.26 GiB (5187 extents).
Logical volume LVMthin/vm-100-disk-1 successfully resized.
Starting VM…
trying to acquire lock…
OK
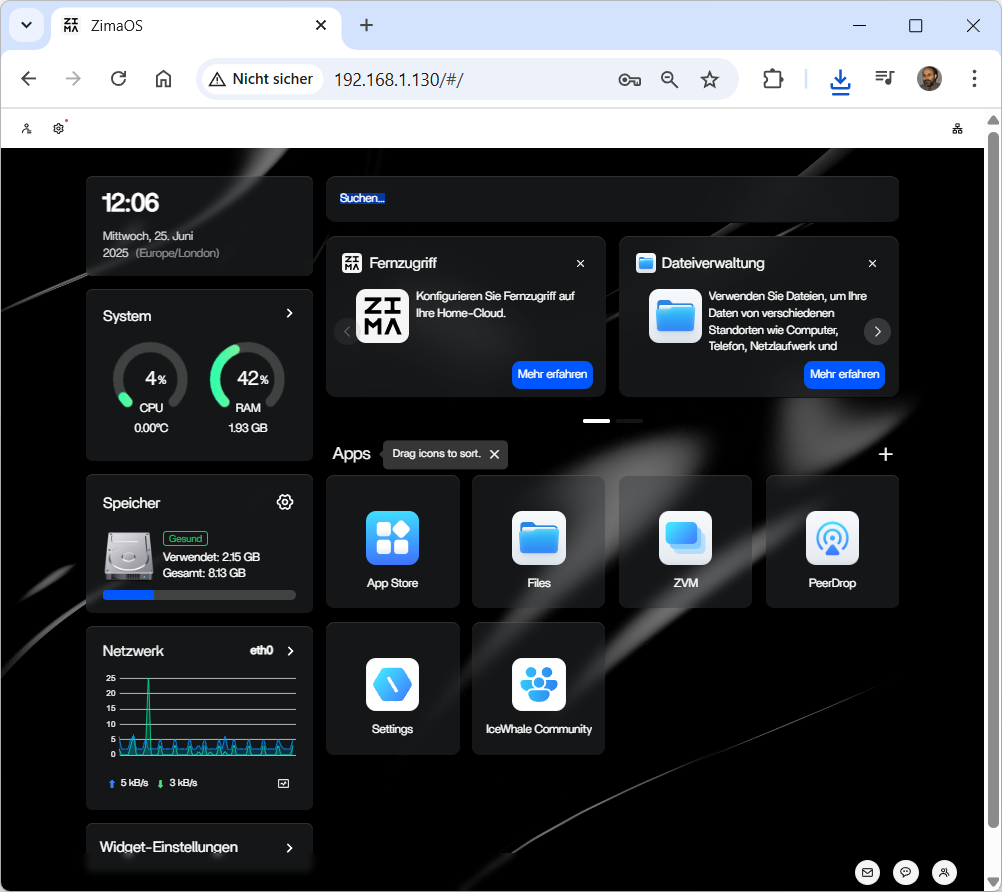
ZimaOS VM creation completed successfully!
-Drücken Sie die Eingabetaste, um zum Menü zurückzukehren …